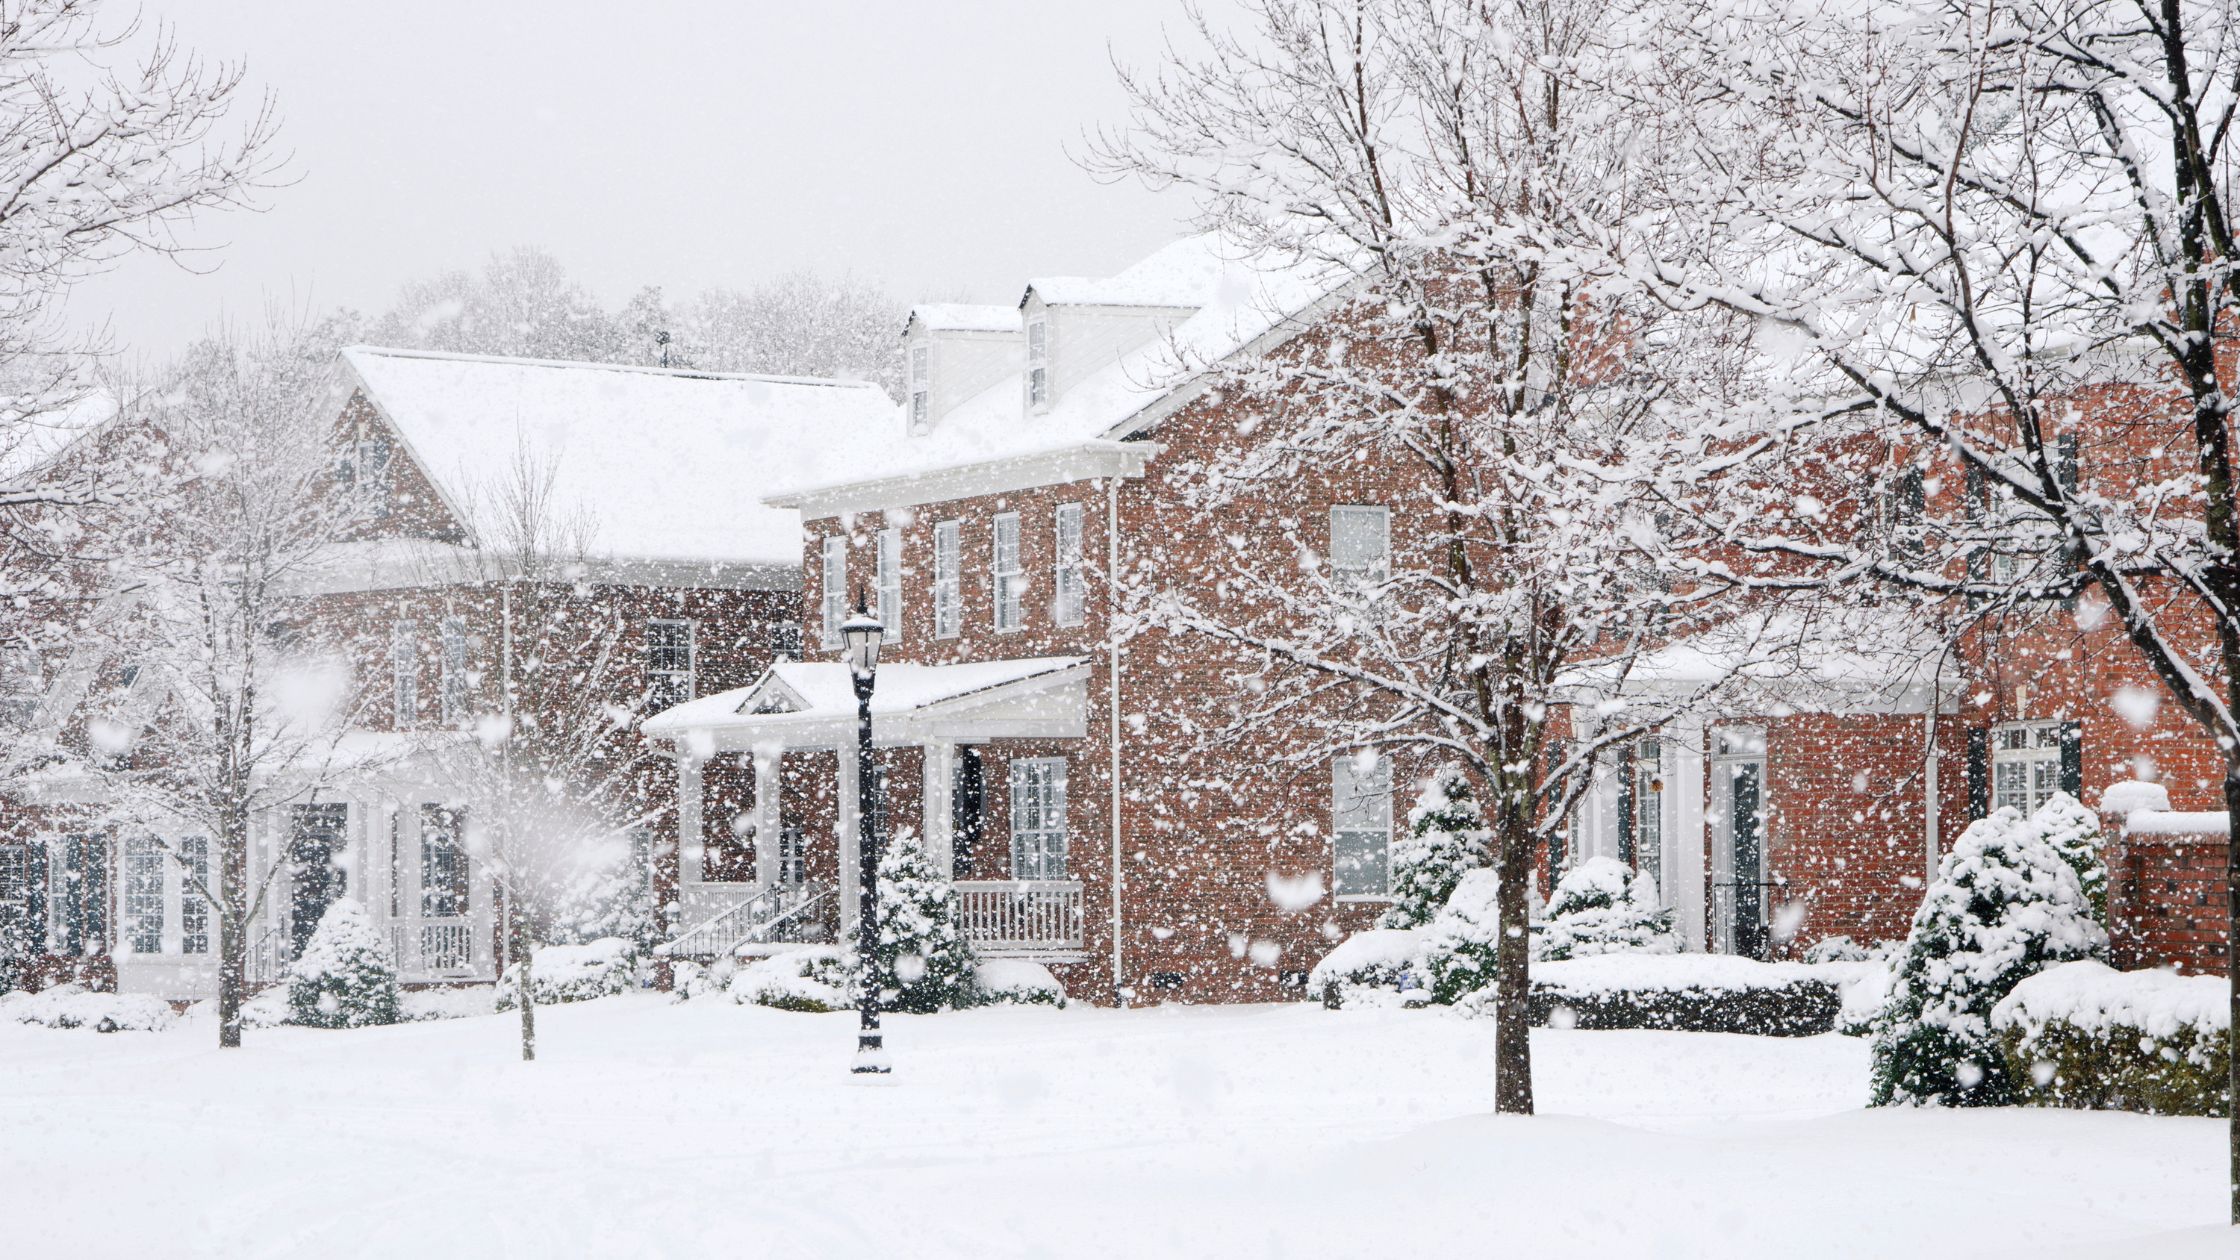
Emergency Roof Repairs: What To Do After a Storm

Storms can be a force of nature that leaves a lasting impact on your home, and one of the areas that often bears the brunt of its fury is the roof. The combination of heavy winds, hail, and torrential rain can cause significant damage, necessitating urgent attention and emergency roof repairs. In this comprehensive guide, we will walk you through the essential steps to take after a storm to ensure the safety and integrity of your roof.
Safety First
Before embarking on any assessment or repairs, it’s crucial to prioritize safety for yourself and your family. Stay indoors until the storm has completely passed, and only venture outside once it’s deemed safe. Keep a vigilant eye out for potential hazards, such as downed power lines, fallen trees, or debris that may pose a risk. Once you’ve confirmed the immediate safety of the surroundings, proceed with caution.
Visual Inspection and Identifying Damage
With the storm behind you, it’s time to assess the potential damage to your roof. Begin with a thorough visual inspection from the ground. Look for obvious signs of damage, such as missing or displaced shingles, dented gutters, or debris scattered across the roof surface. If possible, use binoculars to get a closer look, ensuring you can identify any areas that may need immediate attention.
Signs of Roof Damage
During your visual inspection, pay attention to specific signs of roof damage:
- Missing or Displaced Shingles: High winds can rip shingles off or displace them, exposing the underlying structure to the elements.
- Dented or Damaged Gutters: Hail can dent gutters, affecting their functionality and potentially causing water to overflow.
- Debris on the Roof: Tree branches, leaves, or other debris on the roof can create water dams and contribute to leaks.
Checking for Leaks
After a storm, one of the most pressing concerns is the potential for leaks. Even minor leaks can lead to extensive and costly damage if not addressed promptly. Inspect the interior of your home, including ceilings, walls, and attic spaces, for water stains or active leaks. Identifying and addressing leaks early can prevent further issues down the line.
Attic Inspection
Take the time to inspect your attic for any signs of water penetration. Look for damp insulation, water stains on rafters or insulation materials, and any visible signs of water dripping.
Ceiling and Wall Inspection
Check your ceilings and walls for water stains. Even small discolorations can indicate a leak, so don’t overlook seemingly minor blemishes.
Documenting the Damage
Documenting the damage is a crucial step in the process, especially when dealing with insurance claims. Take clear photographs or videos of the affected areas, capturing both close-up shots and wider angles to provide a comprehensive view. This documentation will serve as valuable evidence when communicating with your insurance company and roofing professionals.
Organizing Documentation
Create a systematic approach to your documentation. Label each photo or video with details such as the date and time it was taken, the location of the damage, and any specific observations you may have. This organized documentation will streamline the claims process.
Temporary Repairs
In cases where immediate threats of further damage are identified, consider performing temporary repairs. While these measures are not permanent solutions, they can help minimize immediate risks until professional help arrives.
Tarping Damaged Areas
Covering damaged areas with a tarp or plastic sheeting can be an effective temporary solution to prevent additional water from entering your home. Ensure that the covering is securely fastened to prevent it from being displaced by wind or rain.
Temporary Sealants
In some cases, temporary sealants may be applied to minor leaks. However, these should be viewed as temporary fixes, and professional repairs should be sought as soon as possible.
Contacting Your Insurance Company
Once you have documented the damage, the next step is to contact your insurance company promptly. Provide them with the detailed information and images you captured during your inspection. Be prepared to answer any questions they may have about the extent of the damage and the temporary repairs you’ve implemented.
Providing Detailed Information
When communicating with your insurance company, be thorough in your descriptions. Clearly outline the areas of damage, the potential causes, and any immediate actions you’ve taken to mitigate further issues. The more information you provide, the smoother the claims process is likely to be.
Understanding Your Coverage
Take the time to review your insurance policy and understand the coverage it provides for roof damage. Familiarize yourself with any deductibles, coverage limits, and specific conditions that may apply to storm-related damage.
Hiring a Professional Roofing Contractor
While temporary fixes can help minimize immediate risks, the expertise of a professional roofing contractor is essential for a thorough inspection and permanent repairs. Experienced roofers can assess the full extent of the damage and provide a comprehensive plan for repairs.
Choosing the Right Contractor
When selecting a roofing contractor, consider the following:
- Credentials: Ensure the contractor is licensed, bonded, and insured.
- Experience: Choose a contractor with a proven track record in handling storm damage repairs.
- References: Ask for references from previous clients to gauge the contractor’s reliability and workmanship.
- Written Estimates: Obtain written estimates for the proposed repairs, detailing the scope of work and associated costs.
Full Roof Inspection
A professional roofing contractor will conduct a comprehensive inspection of your entire roof. This involves assessing the condition of the roofing materials, the integrity of the structure, and identifying any underlying issues that may not be immediately visible.
Permanent Repairs
Based on the inspection findings, the contractor will provide a detailed plan for permanent repairs. This may include replacing damaged shingles, reinforcing the structure, and addressing any underlying issues that contributed to the damage.
Conclusion
Emergencies like storm damage can be stressful, but taking swift and appropriate action is key to mitigating further issues. By prioritizing safety, conducting a thorough inspection, documenting the damage, and seeking professional assistance, you can navigate the aftermath of a storm and ensure your roof is restored to its optimal condition. Remember, addressing roof damage promptly not only protects your home but also helps maintain its long-term value. With careful attention and the right professionals by your side, you can weather the storm and emerge with a secure and resilient roof.

In Awe Roofing Limited is an Award-Winning, family owned and operated Vancouver Roofing Contractor with over 17 years of roofing experience. We serve the entire Lower Mainland area, from Whistler to Chilliwack, employing a team of professional staff members. Our team has won numerous awards including Best of Homestars for the last five years, and Three Best Rated six years in a row. Learn more


