A Guide to Repairing EPDM Built-In Gutters: Tips and Techniques
EPDM (Ethylene Propylene Diene Monomer) built-in gutters have become a popular choice for many homeowners due to their durability and low maintenance requirements. However, like any other roofing or gutter system, they can develop issues over time. In this comprehensive guide, we will discuss common EPDM gutter problems and provide step-by-step instructions for repairing them.
Understanding EPDM Gutters
EPDM gutters, also known as rubber gutters, are made from a synthetic rubber material known for its resilience and longevity. They are typically installed on flat or low-slope roofs and are favored for their ability to withstand extreme weather conditions. Despite their durability, EPDM gutters may require repairs over the years due to factors such as aging, exposure to UV rays, or damage from debris.
Common EPDM Gutter Problems
Before diving into the repair process, it’s essential to identify the most common issues that EPDM gutters can face:
1. Leaks: Over time, the seams and joints of EPDM gutters can deteriorate, leading to water leaks. These leaks can cause water damage to your property if not addressed promptly.
2. Punctures and Tears: Sharp objects or falling debris can puncture or tear the EPDM material, compromising its effectiveness in channeling rainwater.
3. Shrinkage: EPDM can contract over time, causing it to pull away from the edges or flashings and creating gaps where water can infiltrate.
4. Ponding Water: EPDM gutters should have a proper slope to encourage water drainage. Ponding water can occur if the gutter system is not adequately sloped.
Repairing EPDM Gutters
Now that you are familiar with the common issues, let’s explore the steps to repair your EPDM gutters:
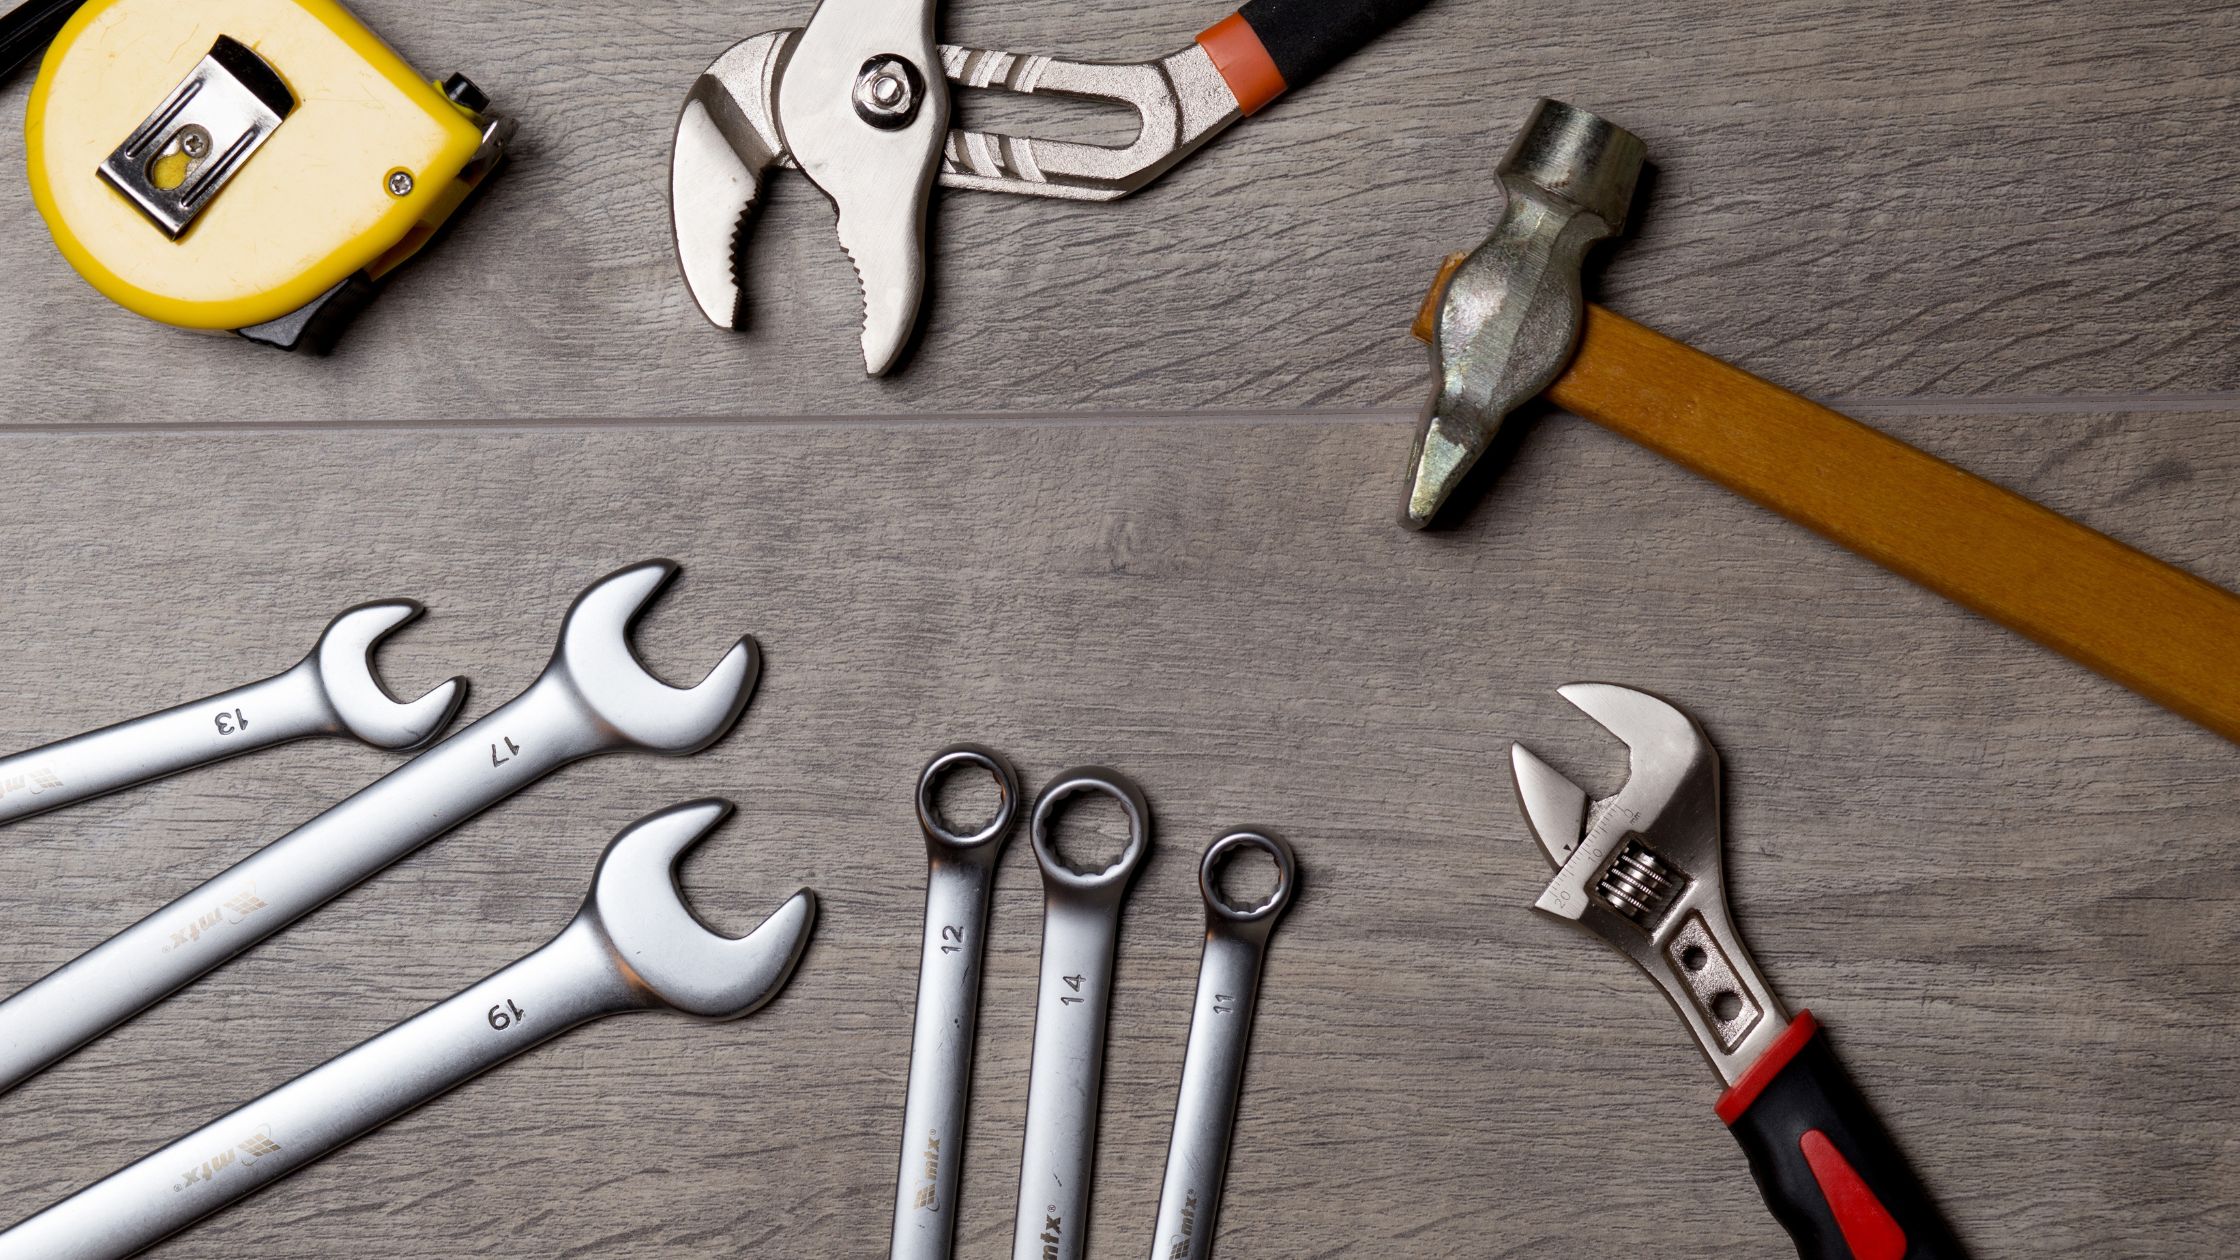
1. Gather Your Tools and Materials:
– EPDM patch kit
– EPDM primer
– EPDM seam tape
– Utility knife
– Scrub brush
– Bucket of soapy water
– Clean rags
2. Prepare the Work Area:
Begin by cleaning the area around the damaged section of the gutter. Use the scrub brush and soapy water to remove any dirt, debris, or loose material. Rinse the area thoroughly and let it dry completely.
3. Locate the Damage:
Carefully inspect the gutter for leaks, punctures, tears, or areas of shrinkage. Mark the damaged areas with chalk or a marker to ensure you know where to apply the repairs.
4. Repairing Leaks:
For leaks, apply EPDM primer to the damaged area, ensuring it’s clean and dry. Once the primer is dry, use the EPDM patch kit to cover the leak. Press the patch firmly onto the surface, ensuring there are no air bubbles or wrinkles.
5. Patching Punctures and Tears:
Clean the damaged area with the scrub brush and soapy water. Rinse and let it dry. Apply EPDM primer, then place a piece of EPDM seam tape over the puncture or tear. Press it down firmly, ensuring a watertight seal.
6. Fixing Shrinkage:
If you notice areas of EPDM that have pulled away from the edges or flashings, use EPDM primer to re-adhere the material. Press the EPDM back into place, and use a clean rag to remove any excess primer.
7. Addressing Ponding Water:
If your EPDM gutter has a slope issue causing ponding water, consult a professional roofing contractor to assess and correct the slope.
8. Final Inspection:
Once you’ve completed the repairs, conduct a final inspection to ensure all problem areas have been addressed. Check for proper adhesion and smooth seams.
Conclusion
Repairing EPDM built-in gutters can extend their lifespan and maintain their efficiency in channeling rainwater away from your home. Regular inspection and prompt repairs are key to preventing further damage. If you’re unsure about tackling the repairs yourself, it’s always a good idea to consult with a professional roofing contractor who specializes in EPDM systems. With proper care and maintenance, your EPDM gutters can continue to protect your home for years to come.
In Awe Roofing Limited is an Award-Winning, family owned and operated Vancouver Roofing Contractor with over 17 years of roofing experience. We serve the entire Lower Mainland area, from Whistler to Chilliwack, employing a team of professional staff members. Our team has won numerous awards including Best of Homestars for the last five years, and Three Best Rated six years in a row. Learn more