Roof Maintenance: Simple Steps To Keep Your Roof in Top Shape

It goes without saying that your house’s roofing serves as a central component responsible for shielding both you and indoor possessions from Mother Nature’s harshest conditions. A fundamental factor in ensuring optimum fortitude, is frequent upkeep- protecting both against expensive servicers as well as avoidable fixes which may arise due to neglectful care. With this in mind, we shall now examine strategies fit for DIY roof maintenance towards reinforcement all year-round.
1. Inspect Your Roof Regularly
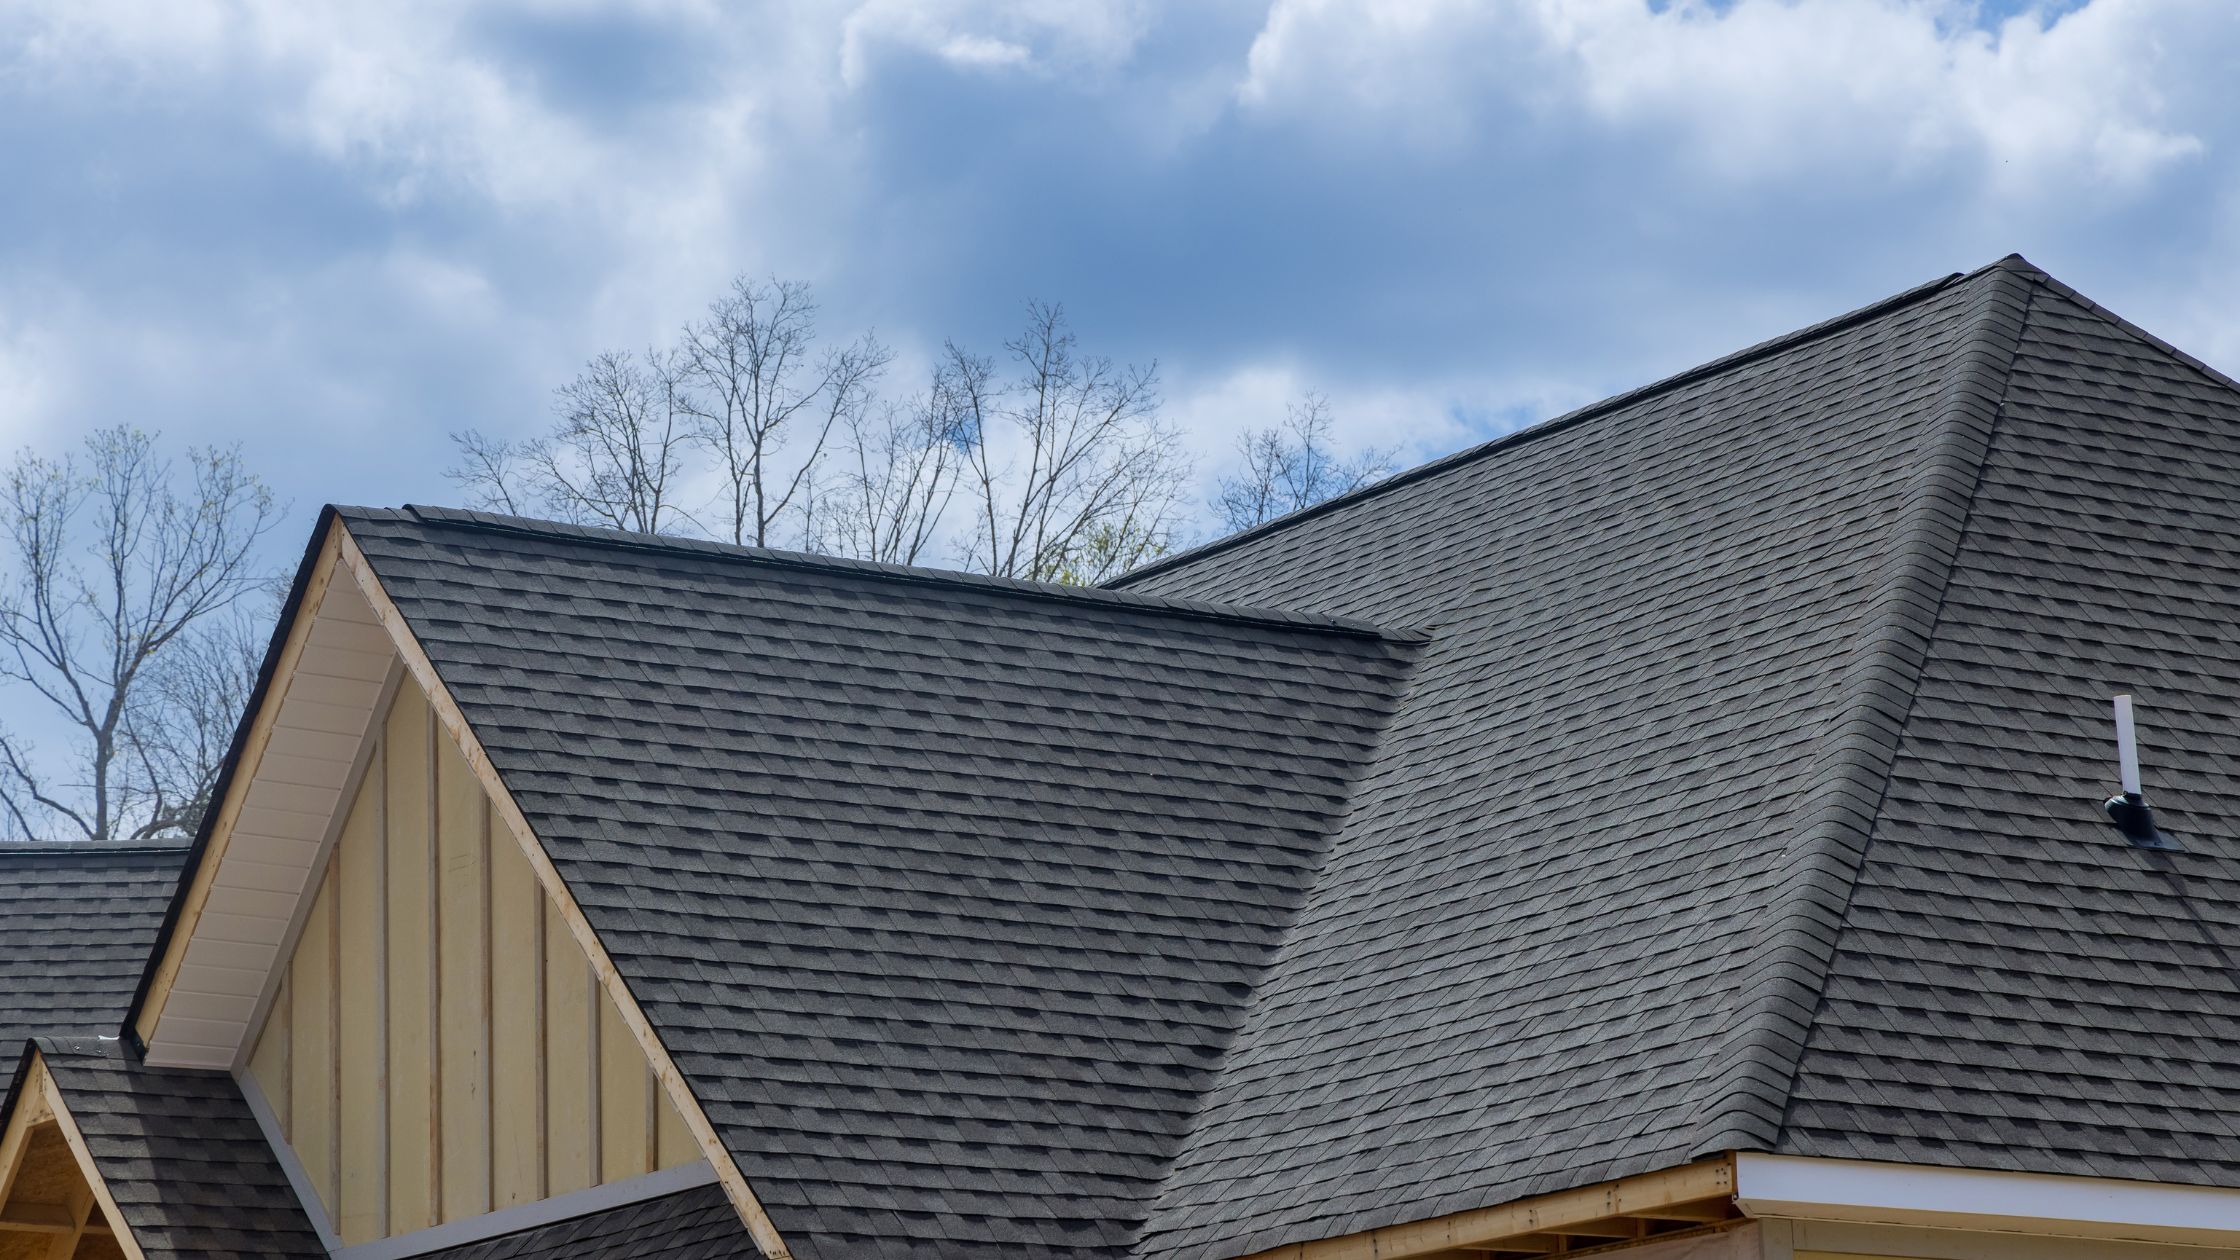
Maintaining your roofing structure requires regular inspection which helps with early detection of possible problems prior to escalation into major ones . Recommended timing has signaled to be twice yearly – ideally during spring and fall–so be sure to make time for this activity! During inspection look out for signs indicating loose shingles–damaged/missing shingle–Flashings with potential corrosion –rooflines experiencing sagging/or unevenness due possible structural deficiency –moss ,algae ,mold presence and debris accumulations . Being vigilant allows prompt addressing so as halt further escalation of said problems
2. Clean Your Gutters and Downspouts
Ensuring proper maintenance of your property’s roofing structure includes paying close attention to every single detail such as cleaning gutters regularly. If not done properly, clogging of drain can result in severe damages such as rotting away parts of the roof framing materials; It might even reach alarming consequences by collapsing altogether. Here’s an easy-to-implement strategy with straightforward steps aimed at cleaning your home’s gutters effectively:
1) Ascend skillfully onto a ladder,
2) Utilize handwear/gutter scoop tool for removing litter (tangled tree parts/leaves),
3) Use a hose to wash away the remaining dust and debris enabling full passage of water through gutters. 4) Finally, assess for any breaks or damages to promptly carry out repairs.
3. Remove Debris from Your Roof
Leaves, branches, and dirt may deposit onto your roof over time causing trap moisture thereby fostering mold and algae growths. To prevent such occurrences from triggering more extensive damage in the future gently clean up debris by using either a soft-bristle broom or leaf blower cautiously as you work atop the elevated surface of your rooftop especially if it’s already wet or slippery.
4. Check for Moss, Algae, and Mold Growth
As more mosses, algae and mold becomes visible on your rooftop you should expect damage which in likely situations reduces its lifespan significantly — fortunately this can be prevented by ensuring that adequate sunlight is given coupled with proper ventilation. Should there be visible growth(s) immediately engage in using a mixture prepared in proportions: one-part bleach mixed with four-parts-water which when applied liberally onto areas affected should stay for seventeen minutes before being rinsed off thoroughly whilst protecting underlying agriculture/landscaping through covering them lowly as necessary tarps/plastic sheets.
5. Inspect and Repair Flashing
To keep water from seeping into your home through its roof joints and seams, roofing contractors use a metal material called flashing. But until you inspect it frequently, flashings could suffer damages inflicted by rust or time that lead to chances of leaking. Scouring out for symptoms of such defects becomes vital along housings like chimneys, vents/skylights as well as along roof valleys & wall junction points – all these chronically showing up when there is deterioration in flashings.
6. Replace Damaged or Missing Shingles
Don’t overlook even the slightest issue involving your rooftop’s covering materials; if you happen to come across damaged or disappearing tiles/shingles, it’s best that you have this matter addressed without delay in order to avoid water damage and leakage down below. To begin replacing a problematic portion of roof material follow these following instructions: first off, pry off whatever undamaged section of material sits directly atop the affected one and expose any nails beneath it using care not to cause further damage worth noting.
Next, a gently detach these securements before sliding out the faulty tile or shingle carefully so as not to cause additional harm. While taking care to adjust the size if necessary, next slide in placement any matching replacement materials while securing each into place via application of roofing nails. Finally, exert ample pressure as needed onto that which rests above this new patchwork configuration so as to reseal its adhesive strip once again just like before.
7. Trim Overhanging Branches
If you have any trees whose limbs are adjacent or hanging over your home’s roofline, it could lead to potential dangers causing damage due to falling branches or allowing easy access for pests like rodents. The best way to deter such incidents is by pruning all dangling tree branched yearly so they don’t interfere with the building balance-keeping them accessible ten feet apart should do the trick! It might be useful if you observe proper safety regulations when cutting back trees- steady ladders, appropriate clothing & coverings are paramount!
8. Ensure Proper Ventilation and Insulation
Its no secret: proper ventilation and insulation are crucial elements when comes to a well-maintained roof. You’ll want these measures in place if you hope avoid issues like ice dams, condensation buildup or unsightly mold creeping onto surfaces overhead.
So what measures should you take? To begin with keep a keen lookout for tell-tale moisture signs like dampness or condensation indicating an urgent need to improve the circulation within the attic space above. Additionally, be sure not to skimp on insulation – aim for at least an R value rating of 30 to help maintain optimal temperature levels in your attic. You’ll also want to install soffit vents and ridge vents to promote efficient airflow within the attic. This approach prevents hot air from becoming trapped underneath the surface keeping it fresh all year round. Don’t forget – sealing any gaps or cracks is pivotal in ensuring that no warm air leaks out (or potentially wet cold air comes inside) which puts all your other efforts at risk of being undone.
9. Schedule Professional Roof Inspections
While DIY roof maintenance remains crucial. It can not replace the importance of regular appointments with qualified professionals. A skilled roofer can use their expertise to locate problems which might evade untrained eyes and provides invaluable recommendations to tackle them accordingly.
Homeowners should aim to have their roofs inspected by professionals once every three years.
10. Know When to Call a Professional
A high level of expertise and experience is required for specific roof maintenance tasks; hence certain instances may necessitate engaging the services of a trained professional rather than attempting repairs on your own. When dealing with crucial issues like severe damages, large leaks or underlying structural problems discovering an experienced roofer would be highly beneficial as they are better equipped and knowledgeable about fixing these types of problems successfully while ensuring compliance with regulations and standards.
Conclusion
Maintaining regular upkeep of your rooftop serves as an essential component in preserving its quality while avoiding any exorbitant reparations. Adhering diligently to simple procedures while recognizing the need for professional intervention will warrant undoubtful longevity for your rooftop.

In Awe Roofing Limited is an Award-Winning, family owned and operated Vancouver Roofing Contractor with over 17 years of roofing experience. We serve the entire Lower Mainland area, from Whistler to Chilliwack, employing a team of professional staff members. Our team has won numerous awards including Best of Homestars for the last five years, and Three Best Rated six years in a row. Learn more


